Looking at the Last Ninja Archive kinda brought me back in time. So I decided to get a Commodore 64 font. To install the font on OSX use the font book tool. In LinuxMint (or Ubuntu) run the command:
# gksudo "nautilus
Then, click the install font button in the top right corner of nautilus. This should add the font to all the needed places. Here is some additional help for installing fonts in linux and some for adding fonts to the gimp windows version. (I found that I also needed to reboot the window$ machine to see the font (what a surprice!! :D))
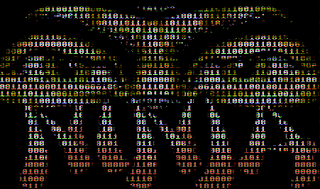
The look I'm interested in is an overlay of transparent binary numbers allowing you to see The last Ninja through the digits. Also, the image should look like it is running on an old monitor, filled with scan lines.
To create the image you'll need to know how to use layers, the color select and fill tool. Before you start take some time to tune in on slayradio and then fire up the Gimp and paint away.
First, create the video overlay
- Open the source image.
- Press 'command' d to duplicate the image.
- Select: filters | distorts | video.
- Keep the default settings in the video dialog, perfect old scanline look.
- Press ok and see the result.
- Save the image so you dont loose it.
Second, create the binary text
- Goto ASCII2BinaryConverter.
- Paste a portion of ASCII encoded text and press convert.
- Copy the converted binary text.
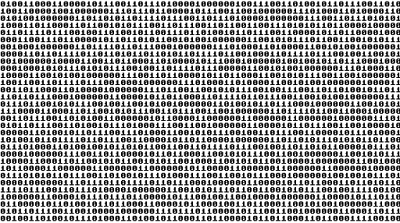
The number of character rows are: image height/font size. Which adds up to 312px/10px = 31 rows.
which is characters * rows = 55 * 31 = 1705 characters.
That means you'll need to convert at least num charecters/binary encoding, which is 8bits. Thats: 1705/8 ≈ 214 characters all in all. Then you'll need a few more just to align the binary text nicely with in the image.
Third, creating the binary text
- Create a new image in the same size as the source image with white background color.
- Select the text tool and cover the whole image area.
- Choose: Commodore font size 10, un-tick anti aliasing, and paste all your binary text.
- Color select the binary text, using the color selector tool, un-tick no feather.
- Copy the selection from your binary text image.
- Paste as new layer on the white image.
Fourth, create the binary mask
- Select color the pasted text using color select. (if it is not selected after paste).
- Merge layer down.
- Invert selection.
- Select: menu item edit and fill with foreground color.
- Invert selection.
- Cut the letters to get a black drawing with transparent characters.
- Select none.
- Save the binary mask image.
Fifth, we'll add the binary mask to the scan line image
- Open the scan line image.
- Open the binary mask image.
- Color select the black part of the binary mask.
- Cut the mask.
- Paste as new layer on the scan line image.
- Save your image.
If you like, you can now invert the selection and cut only the zeros and ones containing the parts of the original image. This can be pastes into a new image with transparent background, to create an image that will work on other than black background. Remember black ninja's are the coolest.
Here's an image based on the original C= graphics, screenshot from vice.


No comments:
Post a Comment